There is a phrase you will hear on every dressage arena, at every level, in every language — and yet it remains one of the most misunderstood instructions in equestrian sport. "Inside leg to outside rein." Your trainer says it. You nod. You try. The horse drifts, the circle wobbles, the bend collapses, and the phrase begins to feel like a riddle with no answer. The truth is that this single principle underpins virtually every movement in classical dressage, from the most basic 20-metre circle to the most advanced collected work — and once you genuinely feel it, riding changes entirely.
This guide will take you through the biomechanics, the aids, the common mistakes, and the mindset required to make inside leg to outside rein not just a concept you understand intellectually, but a connection you carry in your body. And if you believe, as many riders do, that the way you train reflects the way you live, you may find it pairs naturally with the kind of considered, purposeful approach celebrated in the Rider's Motto collection — leather-crafted pieces designed for riders who take both their horsemanship and their values seriously.
What "Inside Leg to Outside Rein" Actually Means
Before anything else, let us be precise about terminology. The inside refers to the direction of bend — the side toward which the horse is flexed. The outside is the opposite side. On a left-handed circle, your left leg is the inside leg and your right rein is the outside rein. These designations shift every time you change rein, so they describe a relationship rather than a fixed position.
The principle itself describes an energy pathway through the horse's body. Your inside leg, applied at or just behind the girth, asks the horse's inside hind leg to step further underneath his body. That energy travels forward and outward through the horse's ribcage — which should swing away from your inside leg — and is received and regulated by your outside rein. The outside rein does not pull; it receives, contains, and gives a boundary. Think of it less as a brake and more as a wall that the horse can confidently lean his energy against.
The inside rein, crucially, is largely passive. It asks for a slight flexion at the poll — enough to see the horse's inside eye and nostril — and then it softens. It does not steer. It does not hold. The moment it takes weight, the whole system breaks down.
The Biomechanics: Why the Horse's Body Works This Way
To truly understand this principle, it helps to think about what is happening inside the horse. A horse's ribcage is suspended between his forelegs like a hammock. When you apply inside leg pressure, you are asking that ribcage to swing to the outside, which in turn frees the inside shoulder and encourages the inside hind leg to step deeper under the horse's centre of gravity.
This engagement of the hindquarters is the very foundation of dressage. The British Dressage training scale — rhythm, suppleness, contact, impulsion, straightness, collection — cannot progress without it. Suppleness, the second element, is largely achieved through this lateral swinging of the ribcage. Contact, the third, is only genuine when energy flows through a supple body to a receiving hand. You cannot skip to collection without first establishing this corridor of energy.
A horse who is not working from inside leg to outside rein is typically doing one of two things: falling in on the inside shoulder (because the inside rein is pulling him there) or falling out through the outside shoulder (because there is no outside rein to contain him). Both are forms of evasion, and both block the hindquarters from engaging.
The Aids in Practice: A Step-by-Step Approach
Understanding the theory is one thing. Applying the aids consistently, in motion, on a living horse, is another matter entirely. Here is a practical breakdown.
Position First
Before you ask anything of your horse, check your own position. Your inside hip should be slightly forward, your outside hip slightly back — this naturally positions your inside leg at the girth and your outside leg just behind it. Your weight should be even across both seat bones, or marginally more into the inside seat bone on circles. Collapsing through your inside hip — one of the most common rider faults — immediately destroys the inside leg aid before it has even been applied.
The Sequence of Aids
- Inside leg on: Apply a brief, rhythmic pressure at the girth, timed to the moment the horse's inside hind leg leaves the ground. You are asking it to step further under.
- Outside rein receives: As you feel the energy come forward, close your outside fingers slightly — not a pull, but a closing, like gently squeezing water from a sponge.
- Inside rein softens: The moment you feel bend, give. A softening inside rein is the reward that tells the horse he has found the right answer.
- Outside leg supports: Resting quietly behind the girth, the outside leg prevents the quarters from swinging outward. It does not actively push; it simply guards.
Repeat this cycle with every stride on a circle, and gradually it becomes less a sequence of separate aids and more a single, flowing conversation.
The 20-Metre Circle Exercise
The 20-metre circle is the ideal schooling tool for this work. It is large enough that a horse can balance comfortably, and small enough to make the bend requirements clear. Begin in walk, establish your position, and focus on one thing at a time: first, is your inside leg actually doing something? Then, is your outside rein receiving? Then, is your inside rein truly soft?
Rising trot on a 20-metre circle is the next step. The rising rhythm helps you time the inside leg aid naturally — you apply it as you sit, when the inside hind is about to push off. If you are new to structured flatwork, the beginner's guide to riding a horse offers useful groundwork on position and basic aids before tackling this level of refinement.
Common Mistakes and How to Correct Them
Over-using the Inside Rein
This is, without question, the most prevalent error at every level below advanced medium. It feels intuitive to steer with the inside rein — you want to go left, so you pull left. But pulling the inside rein tips the horse's nose inward while pushing his outside shoulder outward, collapses the bend in the neck rather than through the body, and blocks the inside hind from stepping under. The correction is deliberate and often uncomfortable at first: consciously soften the inside hand, even when the horse feels like he is falling out, and trust the outside rein to hold the shape.
A Dead Outside Rein
The opposite error is a rider who grips the inside rein and abandons the outside one entirely, leaving it looping with no contact. The horse has nothing to work into and simply falls through the outside shoulder. The outside rein should always have a quiet, elastic contact — never pulling, never abandoned.
Gripping with the Inside Knee
Gripping upward through the inside knee lifts the inside seat bone out of the saddle and immediately blocks the inside leg from swinging down and breathing against the horse's side. The inside leg must hang long and free, with the pressure coming from the lower leg and the weight dropping into the heel.
Holding the Breath
It sounds small, but it is not. A rider who holds her breath tightens through the core, stiffens the hip flexors, and transfers that tension directly into the contact. The British Horse Society has long emphasised rider fitness and suppleness as a welfare consideration — a stiff rider creates a stiff horse. Breathe out as you apply the inside leg. Let the exhale do half the work.
The Mindset Behind the Movement
There is a reason dressage masters speak of the aids as a conversation rather than a command. Inside leg to outside rein cannot be forced. It is not a grip or a shove or a demand — it is an invitation, consistently offered, until the horse begins to seek the connection himself. That requires patience of a particular quality: not passive waiting, but active, attentive, curious patience.
Many riders find that the frustration of not feeling this connection comes not from a lack of talent but from a lack of trust — in themselves, in their horse, in the process. The moments when it clicks, when the horse softens through his back and steps genuinely under and the outside rein fills with something warm and alive, are worth every circle that came before them.
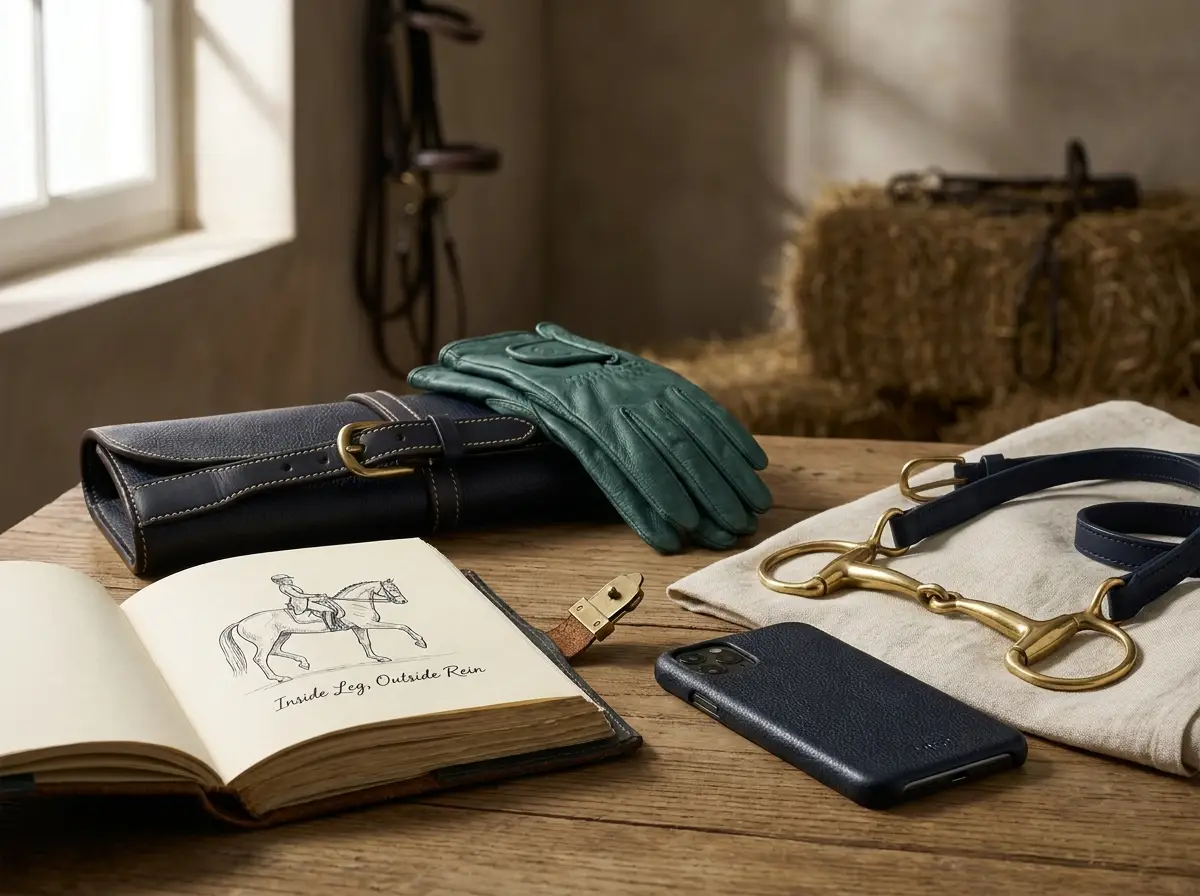
This is the kind of riding philosophy that translates beyond the arena. The discipline of noticing, softening, and persisting — of holding a standard without rigidity — is the same quality that marks a rider's character off the horse as much as on it. If you keep a phrase or a motto that grounds you in that philosophy, having it close — on a piece of handcrafted leather you carry every day — is a quiet but meaningful thing. Velvet & Valor's custom leather pieces can be personalised with the words that matter most to you, whether that is a training mantra, a horse's name, or simply a reminder of why you ride.
Exercises to Deepen the Connection
Once the basic feel is established on a circle, these exercises will sharpen your understanding and your horse's responsiveness.
Leg Yield
Leg yield asks the horse to move away from the inside leg while remaining straight in his body — no bend, just lateral movement. It is an excellent tool for clarifying the inside leg aid in isolation, because the horse cannot evade it by bending his neck. If the horse does not move away from your inside leg in leg yield, he will not truly respond to it on a circle either.
Transitions Within the Gait
Ask for lengthening and shortening within trot or canter, using inside leg to generate the energy and outside rein to contain and regulate it. This sharpens the horse's responsiveness to both aids simultaneously and builds the elastic, bouncing quality that underpins all collected work.
The Shoulder-In
Shoulder-in is the classical exercise for establishing inside leg to outside rein in its most refined form. The horse travels on three tracks, bent slightly around the inside leg, with the outside rein maintaining the angle and preventing the outside shoulder from escaping. The Fédération Equestre Internationale recognises shoulder-in as a foundational lateral movement in its dressage tests at all levels above preliminary, and with good reason — it simultaneously develops suppleness, straightness, and engagement of the hindquarters.
Spiral In and Out on a Circle
Begin on a 20-metre circle, then gradually spiral inward to 10 metres using the outside rein and outside leg to control the decrease in size. Then spiral back out using the inside leg to push the horse outward while the outside rein regulates the tempo. This exercise makes the relationship between inside leg and outside rein viscerally clear — you cannot do it without both.
A Note on Feel: The Thing That Cannot Be Taught, Only Found
Every experienced rider will tell you the same thing: feel cannot be explained into existence. You can read every description ever written of inside leg to outside rein — and this article is no exception — and still not truly have it until the day you do. That day comes from hours in the saddle, from a trainer who can recognise the moment it happens and name it for you, from a horse patient enough to keep offering the answer even when you ask the question clumsily.
What preparation and understanding can do is shorten the time between trying and feeling. They give you a map. They help you recognise when you are close and when you are far away. They prevent you from building habits that actively work against the connection you are seeking.
Ride with attention. Soften before you ask. Trust the outside rein. And when the circle is round and the horse is through and the contact is light and honest — remember what that feels like, and ride toward it every time.